You're not the only one with a helix piercing! It is possible to personalize this popular piercing by changing the positioning and the jewelry design.
One of the most common cartilage piercings is the helix which makes you both blend and stand out among the crowd.
Despite the number of people openly discussing having a forward helix piercing, there is a scarcity of guides to help one with aftercare and removal of the piercing.
Read on to understand how to care for your piercing correctly and how to remove your forward helix piercing.

All About Your Forward Helix Piercing
Before we dive into piercing aftercare, let us first understand what forward helix piercing is.
A forward helix piercing is done by piercing through the forward-facing portion of the cartilage just above the tragus, which is the exterior cartilage closest to your face.
To put it mildly, this piercing isn't anything out of the ordinary. They'll clean the area to make sure it's sanitary after you and your piercer determine what jewelry to use and where it should be placed.
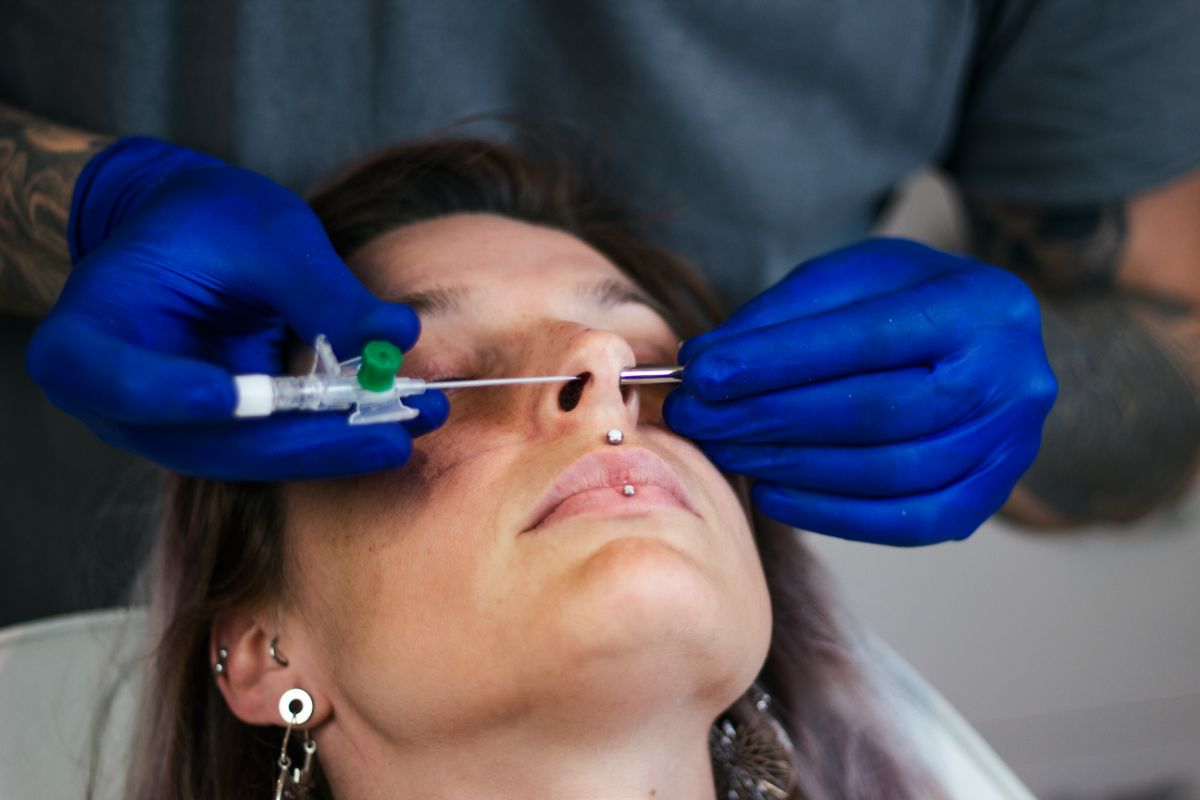
To complete the piercing, your piercer will insert a steel receiving tube behind the designated cartilage and insert a needle to the opposite side of the tube. At the end of the procedure, a piece of jewelry is worn around the piercing site.
Aftercare For Your Forward Helix Piercing
There are a few simple rules you need to consider to keep your piercing looking its best. Contamination of a piercing, particularly with dirty hands, may lead to infection or other complications.
Whenever you need to come in contact with a new piercing, wash your hands well first for at least two minutes with soap and warm water.

Taking Care of Your Forward Helix Piercing
Before sleeping, clean the new wound that was pierced. Do not use any cream, peroxide, or harsh chemicals.
A gentle and non-irritating saline spray or solution for piercings is highly recommended to avoid future complications.
Infections may occur if germs enter the body. If you have a piercing, avoid harsh chemicals such as peroxide, which may damage the tissue.
Various piercing aftercare products are available online or at your local piercing studio. Keep the piercing clean by cleaning it once or twice a day, and avoid touching it.
Removing and Changing Your Forward Helix Piercing
“How To Remove Forward Helix Piercing?”
After obtaining a piercing, you should wait at least eight weeks before changing your jewelry since the wound is still open and requires time to heal.
Using your ear piercing cleaner, gently clean the wound area and rinse to avoid complications. A small quantity of lubricant should be applied to your piercing and the jewelry, then wait two minutes for it to take action.
A piercing ball that has become lodged may typically be unscrewed with the help of a pair of rubber or latex gloves. With a gloved hand, take the ball and make sure the metal is dry.
Rubber gloves will allow a proper grip to free your ball from its snagged spot.
Try a pair of pliers or forceps if you're still unable to remove the earring. Twist the hoop in a clockwise or anti-clockwise motion until it comes free, then remove it. When doing this, take care not to harm your piercing. Wear gloves when handling the jewelry.
It is best to see your piercer if the jewelry is too hard to remove.
Bottomline
For those looking for something distinctive, the forward helix piercing is an excellent option. Piercings are a great way to express yourself but be sure that you are ready for the responsibility that comes with it.
Although it is exciting to have many piercings, it all boils down to how good you are at taking care of them after the procedure.
Find a 3-in-1 treatment care for your piercing that acts as an antimicrobial cleaner, antiseptic protector, and analgesic - all in one product. Dr. Piercing's Aftercare Medicated Spray is an excellent choice that offers all three benefits mentioned.
Order yours now and experience a top-notch piercing aftercare like no other!


